Single Sign-On provisioning setup - Azure AD (SCIM)
Admin of the RemotePC Team and Enterprise accounts can now set up provisioning for their users / groups from the identity provider. RemotePC supports SCIM (System for Cross-domain Identity Management) provisioning method to provision users / groups.
To setup Single Sign-On (SSO) provisioning with Azure AD, the admin needs to:
- Generate SCIM provisioning token with RemotePC account
- Configure SCIM provisioning
- Assign users / groups to the provisioned app
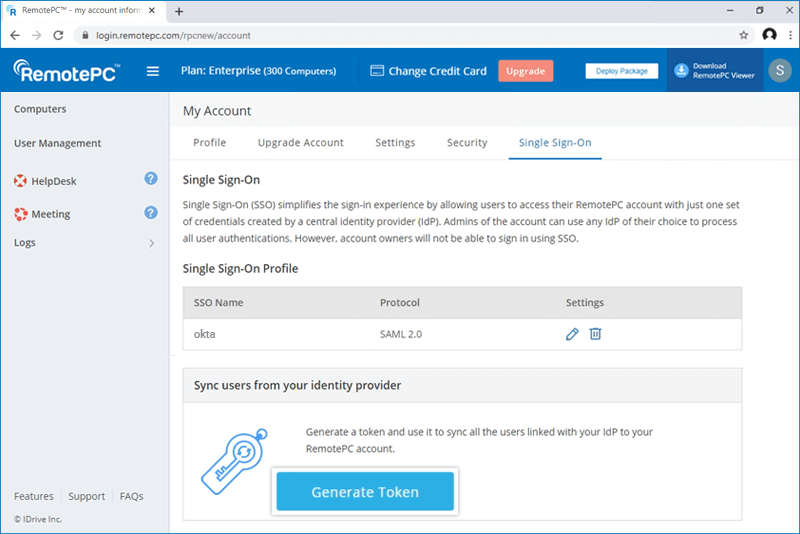
Admin needs to generate and use the SCIM (System for Cross-domain Identity Management) provisioning token to sync all the users linked with their IdP to the RemotePC account.
To generate a token,
- Log in to RemotePC via web browser.
- Click the username displayed on the top-right corner and click 'My Account'.
- Navigate to the 'Single Sign-On' tab and click the 'Generate Token' button under 'Sync users from your identity provider' to generate a token.
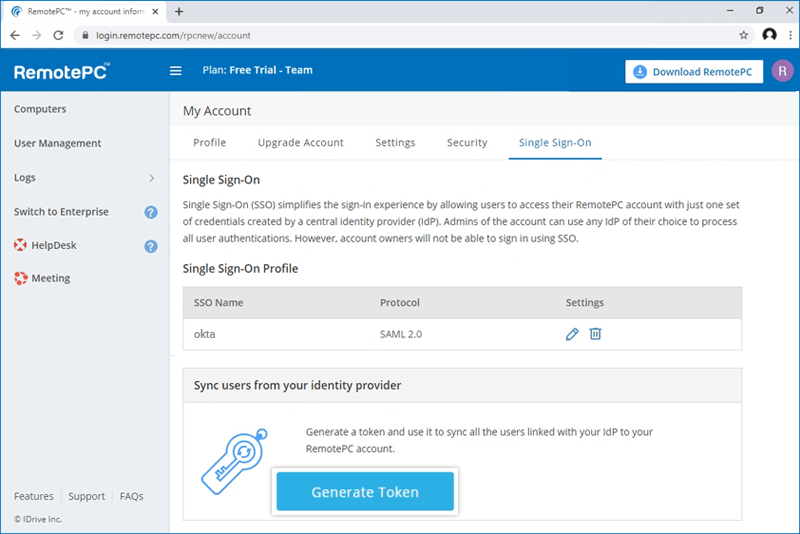
- Click the 'Copy Token' button to copy and save the token for future reference.
Once the app is created, admin can configure their account for SCIM provisioning.
To configure SCIM provisioning,
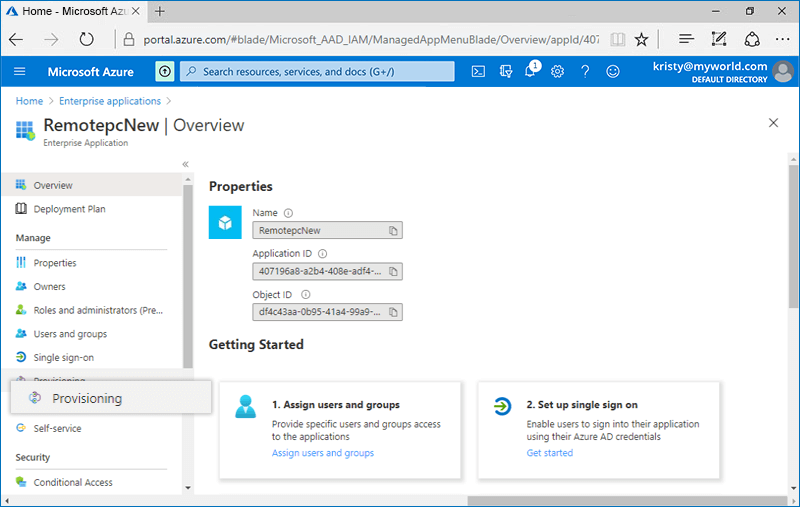
- Login to the Azure AD console using your Azure AD account credentials and click on 'Enterprise applications'.
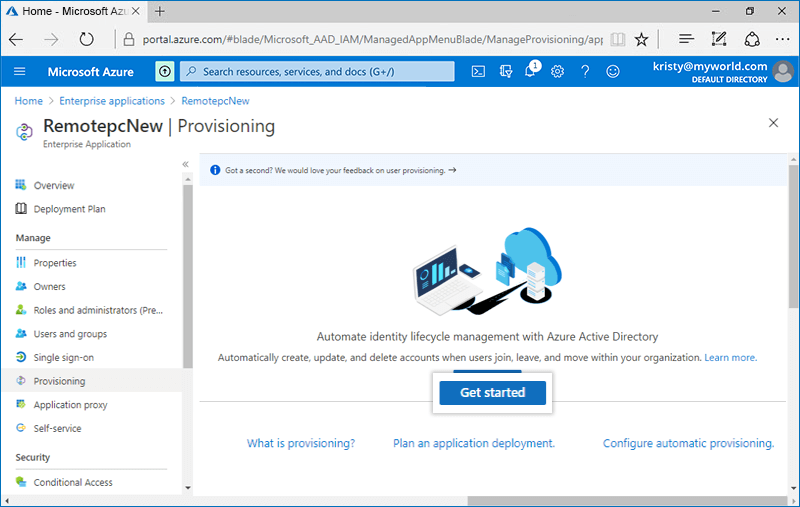
- Click on the newly created application, and select 'Provisioning' tab on the LHS.
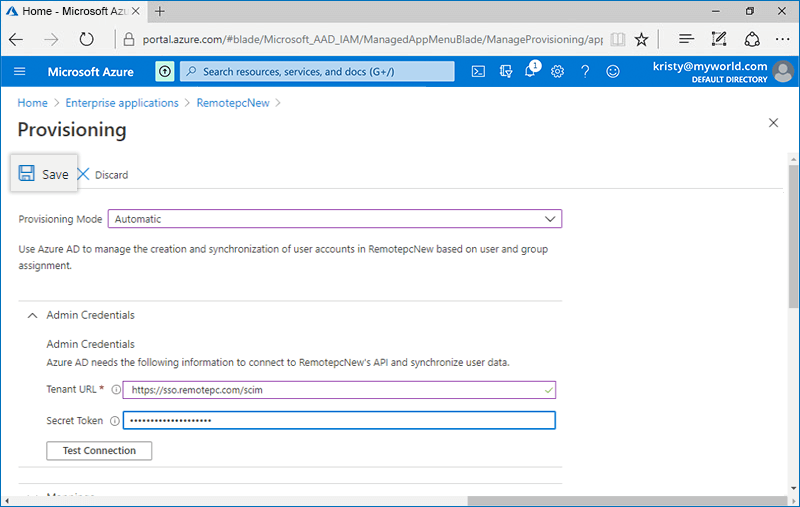
- Click the 'Get Started button' and choose 'Automatic' from the drop-down that appears.
- Click on 'Admin Credentials' tab and add below details:
- Tenant URL: https://sso.remotepc.com/scim
- Secret Token: Enter the SCIM provisioning token generated on your RemotePC account
- Click 'Save'.
To enable provisioning for users / groups, admin needs to assign users / groups to the SCIM app created on Azure AD console.
To assign users / groups,
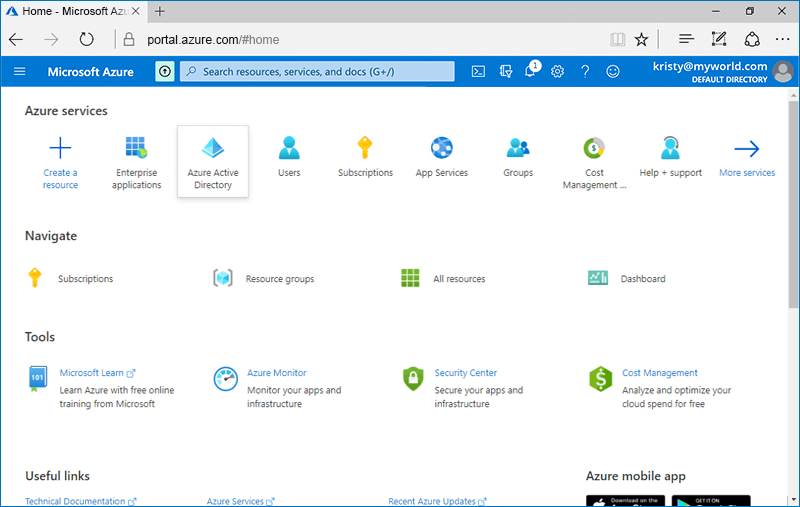
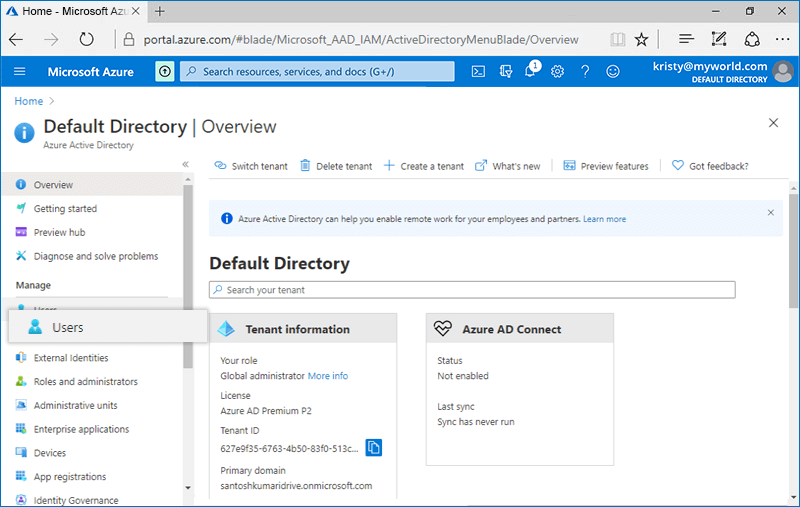
- Navigate to the Azure AD admin console, and click 'Azure Active Directory'.
- Select the 'Users' tab on the LHS and click '+ New user' to add a new user. Similarly, to add a new group select the 'Groups' tab and click '+ New group'.
- Once the user / group is created, go to the 'Enterprise Applications' from Azure AD console and click on the created app.
- Navigate to the 'Users and groups' tab and click the '+ Add user/group' button.
- Search for the user / group you wish to assign to the app, and click 'Assign'.
Once assigned, the users / groups will be provisioned automatically.
Alternatively, to provision user accounts on priority,
- In the application, go to the 'Provisioning' tab and click 'Provision on demand'.

- Search the user account you wish to provision, and click 'Provision'.
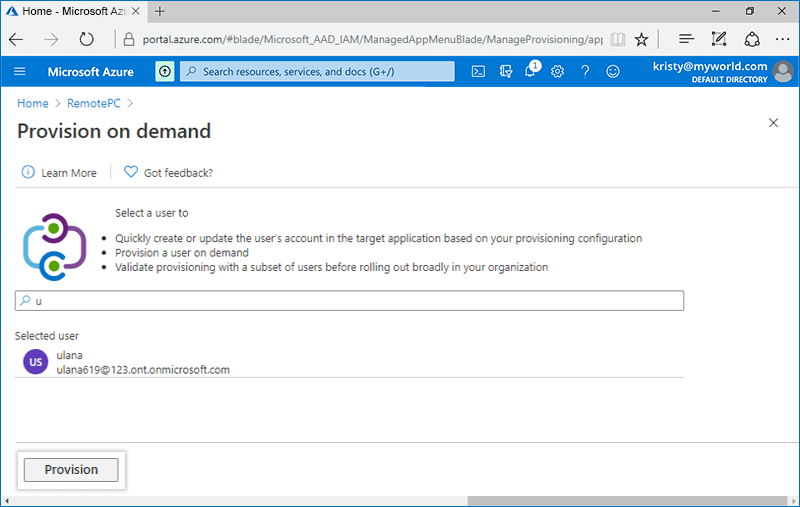
A success message will be displayed once the user account is provisioned.
Learn how to create a Non-gallery application in Azure AD console >